Guides
Below guides are prepared by our team to be able to provide our customers as much as information we can.
Please click on the related links to get further information.
HYDRAULIC BREAKER & CARRIER MATCH LIST
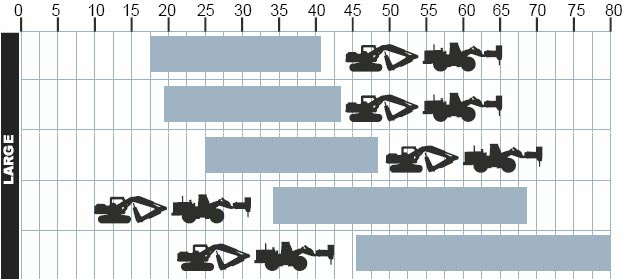
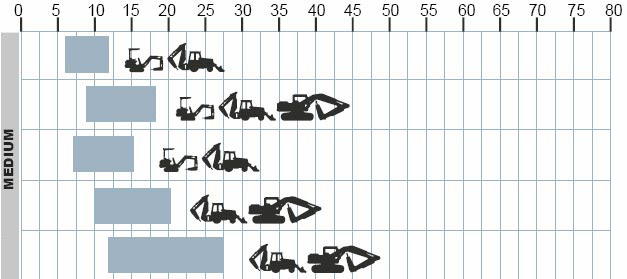
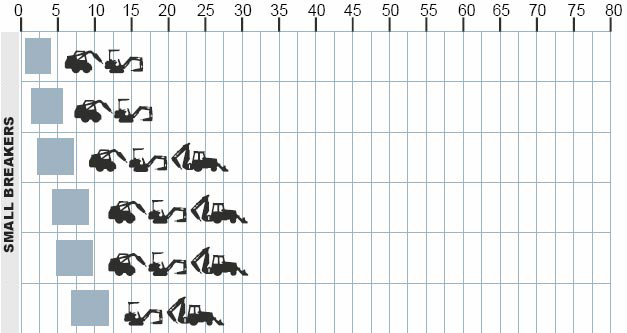
You may refer to the following charts as well, to be able to size the Breaker which outlines the recommended carrier weight range.
Skidsteer – Mini Excavator – Backhoe – Excavator – Wheel Loader
HOW TO USE THESE CHARTS
Find your carrier weight along the top of this chart. Draw a line straight down from that weight.
Any shaded breaker bars intersected gives you a breaker suitable for your carrier.
* Carrier Weight in lbs
We designate the time until the working side of the tool is completely worn as the service life, stated in hours, days or months. However, it only makes sense to use this method of comparison if the conditions of use remain constant. If the material to be broken and the beating frequency vary, this produces standard differences at a ratio of 1:100 with equivalent tools.

Apply grease on high-stress tools especially liberally before inserting into the hammer.

Operate your breaker only after having positioned the demolition tool on your work surface. Stop hammer immediately when the material breaks up.

Avoid too much play between chuck bushing and tool to prevent tool breakage or damage to the chuck bushing.

Use only short strikes (a maximum of 10-20 seconds), then remove hammer and choose new angle or position of attack. If the tool heats up, allow the tip or cutting edge to air-cool.
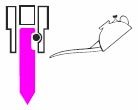
Lubrication: Apply high pressure grease at least 4 times daily to make sure the lubricating film does not break.

Tool reconditioning: Dull tips or edges or damaged tools can be reconditioned with milling, planing or lathing.
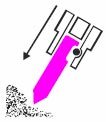
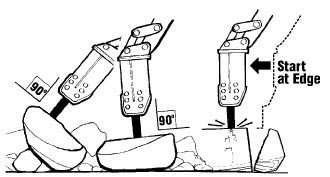
The correct strike position should be a 90° angle to the work surface. The shank, chuck and carrier should form a unit.
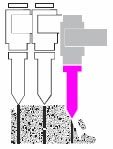
Use a gradual approach to breaking up material section by section. Start at the edge of large pieces, then work in towards center.
Damage can occur if the breaker is used for prying, picking or lifting. Do not operate the breaker under water unless equipped for such work.
See your Service Manual for details.
Our unique production procedure guarantee the quality of Felix Hydraulic Breakers.
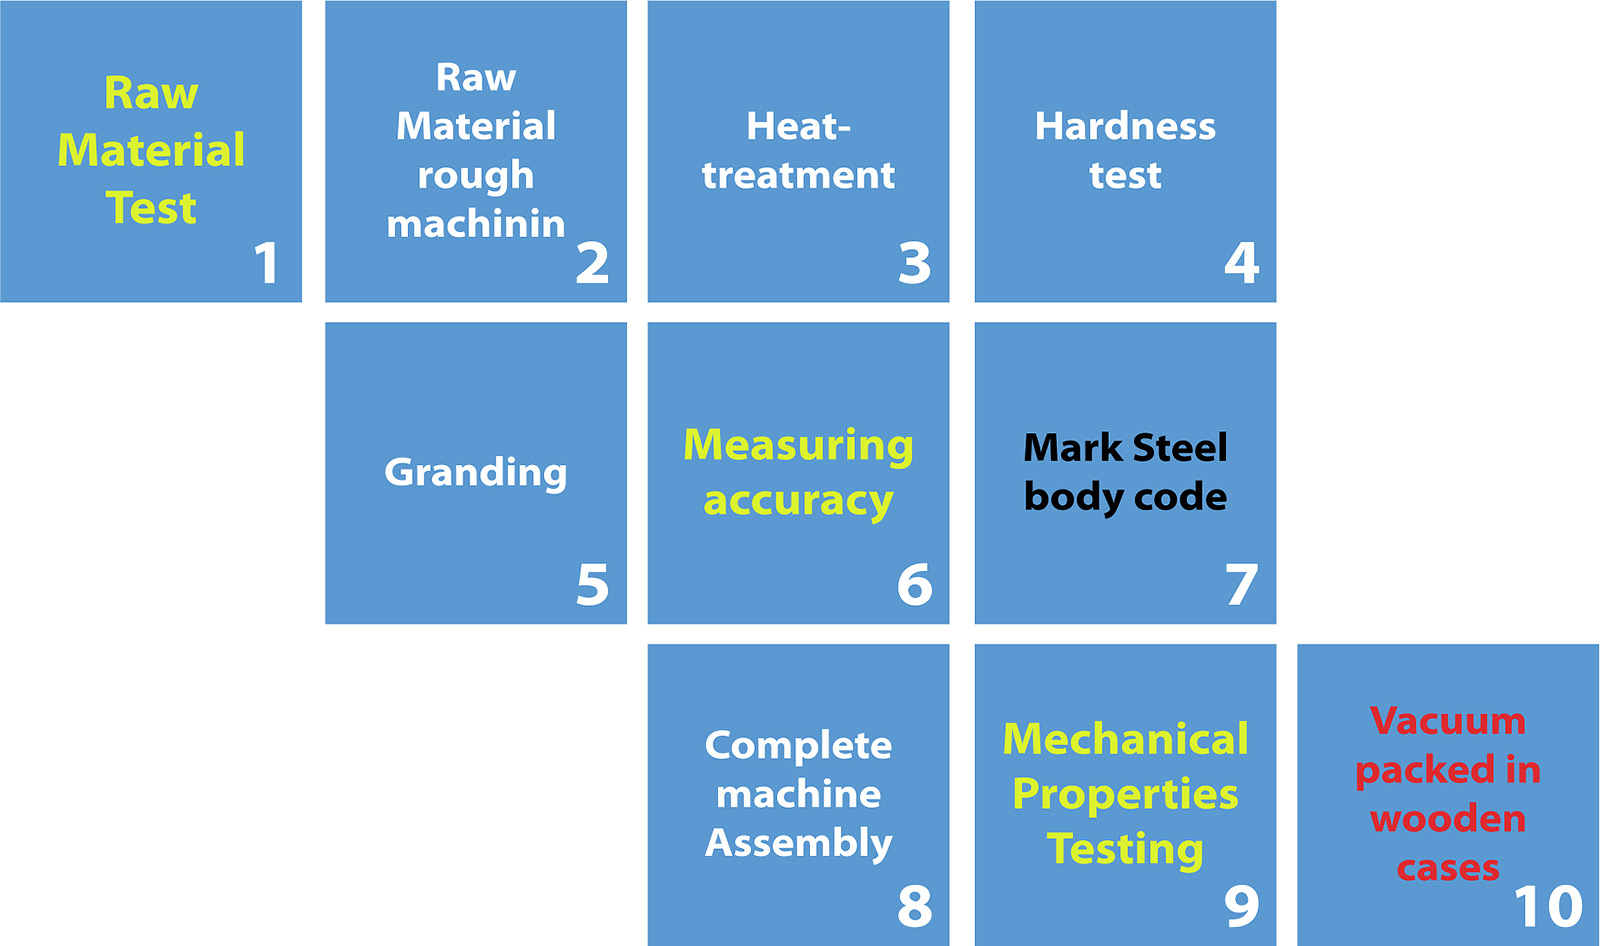
* Four kinds of testing (highlighted as green)
* Mark steel body code, help us to offer better as service (highlighted as black)
* Four kinds of fabrication to ensure the performance (highlighted as white)
* Perfect package (highlighted as red)
Azemo Equipment brings added value to the table by using latest technology in production process, such as BROWN & SHARPE , DMG MORI , OKUMA, DOOSAN, HYUNDAI and MAZAK machinery. With over 80 steps in our production process including 2x heat treatment and 1x cold treatment for almost 100 hours, we believe our products can satisfy your needs with the confidence coming from our production quality.
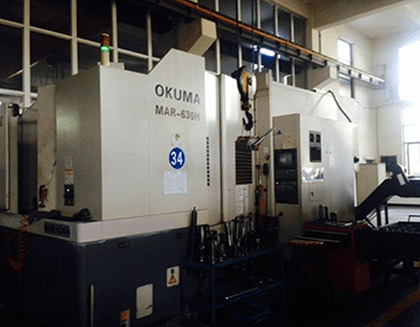
OKUMA, has over 100 years Rich Professional Experience for machine tool, World's top manufacturer. We use it to help us improve the production efficiency for the hydraulic breakers.
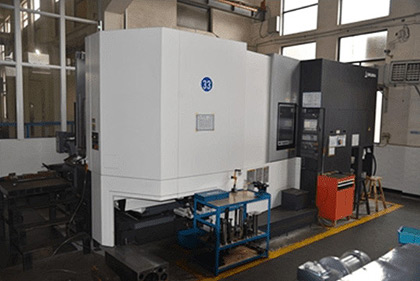
The MU-10000H is Okuma’s largest and most agile CNC machine – designed for ultra-challenging applications for aerospace machining, heavy equipment and other large parts.
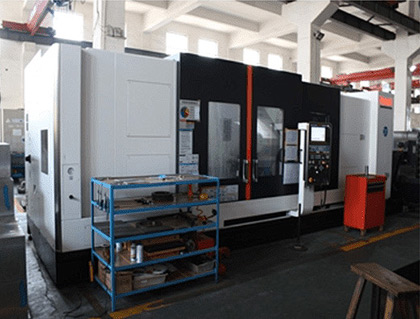
YAMAZAKI MAZAK, the world's top CNC machine manufacturer.
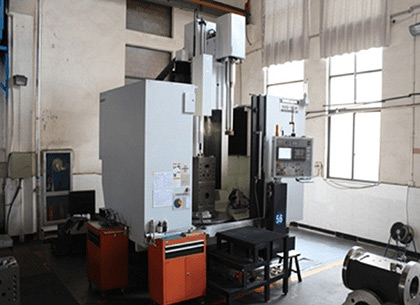
DMG, the best European machine tool manufacturer, also the world's top one.
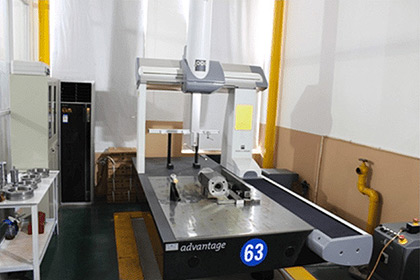
Hexagon AB, the best precision measurement vehicle manufacturer in the world. We use these machines to help us test the precision of cylinder's concentricity.
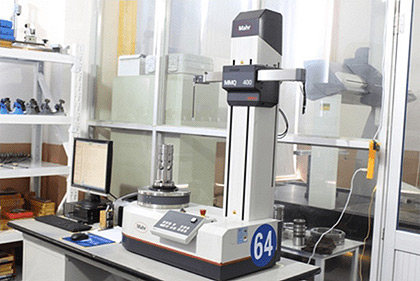
Mahr GmbH, the world top manufacturer of measuring tools. We use this machine to help us test the valve's roundness.
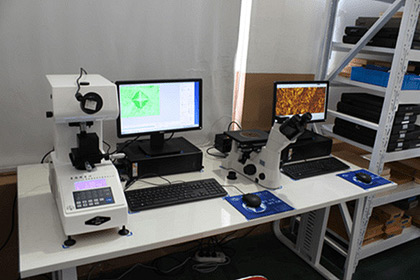
Carburized case testing and internal mirror analysis.
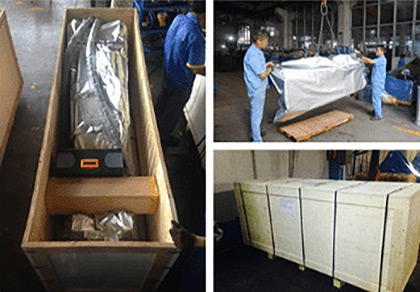
Vacuum packed in wooden cases.
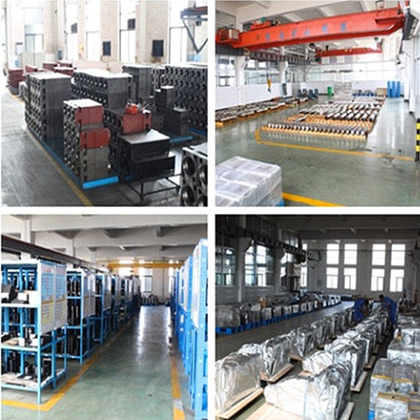
Our warehouse covered about 5000 m² in order to help us meet the customers needs.
SHORT TERM STORAGE
1. Lay the breaker on wooden blocks. Remove the pins to disconnect the breaker from the boom.
2. Remove the tool and ensure the retaining pins, bushings and piston bottom are well greased.
3. Reinstall the tool.
4. Cover with a tarp.
LONG TERM STORAGE (Preferred Method)
1. Remove the tool. Liberally grease inside the front head, piston bottom, and retaining pins.
2. Release the cushion chamber gas pressure.
3. Push the piston up inside the breaker.
4. Reinstall the tool.
5. Cover with a tarp.
LONG TERM STORAGE (Alternate Method)
1. Store breaker upright in a safety stand.
2. DO NOT release the cushion chamber gas pressure.
3. Allow the breaker weight to push the tool up into the breaker.


